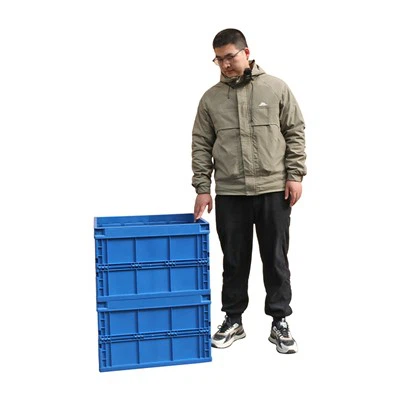
As a supplier of Mealworm Trays, I understand the importance of maintaining the integrity of these essential tools for mealworm breeders. A cracked mealworm tray can not only disrupt the breeding process but also lead to potential losses. In this blog post, I will share some effective methods on how to repair a cracked plastic mealworm tray, ensuring that your investment remains in good working condition.
Understanding the Problem
Before diving into the repair process, it's crucial to understand the causes of the crack. Common reasons include rough handling, exposure to extreme temperatures, or the natural wear and tear over time. Identifying the root cause can help you take preventive measures in the future.
Tools and Materials Needed
To repair a cracked plastic mealworm tray, you will need the following tools and materials:
- Plastic adhesive: Choose a high-quality adhesive that is specifically designed for plastic repairs. Look for an adhesive that is strong, flexible, and resistant to moisture.
- Sandpaper: Use fine-grit sandpaper to smooth the edges of the crack and create a better surface for the adhesive to bond.
- Clean cloth: To wipe the surface of the tray clean before applying the adhesive.
- Masking tape: To hold the cracked pieces together while the adhesive dries.
Step-by-Step Repair Process
- Clean the Surface: Start by cleaning the area around the crack with a clean cloth. Remove any dirt, debris, or mealworm waste. This will ensure that the adhesive can bond properly.
- Sand the Edges: Use the sandpaper to gently sand the edges of the crack. This will create a rough surface, allowing the adhesive to adhere better. Be careful not to sand too aggressively, as this may damage the tray further.
- Apply the Adhesive: Apply a small amount of plastic adhesive to one side of the crack. Spread the adhesive evenly using a toothpick or a small brush. Make sure to cover the entire crack.
- Align the Crack: Carefully align the cracked pieces of the tray and press them together firmly. Use masking tape to hold the pieces in place while the adhesive dries. Make sure the tape is tight enough to keep the pieces together but not so tight that it damages the tray.
- Let the Adhesive Dry: Follow the instructions on the adhesive packaging for the recommended drying time. It is usually best to let the adhesive dry for at least 24 hours to ensure a strong bond.
- Test the Repair: Once the adhesive has dried, remove the masking tape and test the repair. Gently press on the repaired area to check if it is still cracked. If the repair is successful, the tray should be able to hold its shape and function properly.
Preventive Measures
To prevent future cracks in your mealworm trays, consider the following preventive measures:
- Handle with Care: Avoid rough handling of the trays, as this can cause them to crack. When moving the trays, use a gentle touch and avoid dropping them.
- Store Properly: Store the trays in a cool, dry place away from direct sunlight and extreme temperatures. This will help prevent the plastic from becoming brittle and cracking.
- Inspect Regularly: Regularly inspect your mealworm trays for any signs of damage or wear. If you notice any cracks or other issues, repair them immediately to prevent further damage.
Conclusion
Repairing a cracked plastic mealworm tray is a simple and cost-effective way to extend the lifespan of your trays. By following the steps outlined in this blog post, you can easily repair a cracked tray and ensure that it continues to function properly. As a supplier of Mealworm Tray, I am committed to providing high-quality products and helping our customers maintain their equipment. If you have any questions or need further assistance, please feel free to contact us. We are always here to help you with your mealworm breeding needs.
If you are interested in purchasing high-quality Insect Boxes for Breeding Mealworms or Plastic Insect Breeding Trays BSF Farming, please don't hesitate to reach out to us. We offer a wide range of products to meet your specific needs and requirements. Contact us today to start a discussion about your purchase and let us help you take your mealworm breeding to the next level.

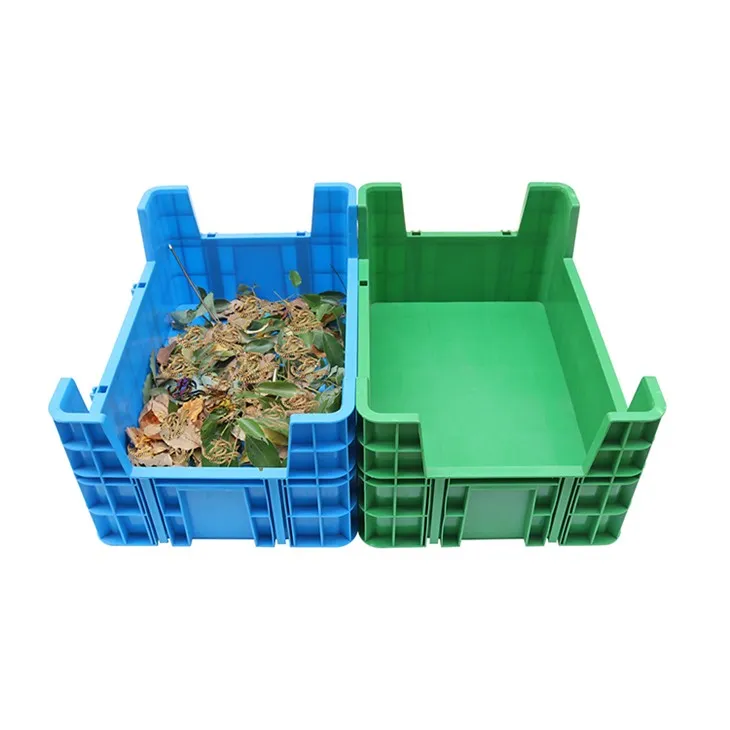
References
- Plastic Repair Guide. (n.d.). Retrieved from [Website Name]
- Mealworm Breeding Best Practices. (n.d.). Retrieved from [Website Name]